Fencing installation is a crucial aspect of enhancing privacy, security, and aesthetics around your property. Among the various fencing options available, wood fences stand out for their timeless appeal, versatility, and natural charm. In this comprehensive guide, we’ll delve into the intricacies of wood fencing installation, covering everything from planning and preparation to execution and maintenance.
Planning Your Wood Fence Installation
Before embarking on any fencing project, meticulous planning is essential. Consider the purpose of your fence – whether it’s to mark boundaries, enhance security, or add visual appeal. Measure the perimeter accurately to determine the amount of materials needed. Additionally, check local regulations and obtain necessary permits to ensure compliance with zoning laws and property boundaries.
Choosing the Right Materials
Selecting the appropriate wood is paramount for a durable and visually pleasing fence. Common options include cedar, pine, and redwood, each offering distinct advantages in terms of durability, appearance, and cost. Choose pressure-treated wood for enhanced resistance against rot, decay, and insect infestation, especially in humid climates.
Preparing the Site
Preparing the site is a crucial preliminary step to ensure a sturdy and long-lasting fence. Clear the area of debris, rocks, and vegetation, and mark the fence line using stakes and string for guidance. Dig post holes at regular intervals, ensuring they are deep enough to provide adequate stability, typically around one-third the height of the fence above ground level.
Installing the Fence Posts
Proper installation of fence posts is critical for the structural integrity of the entire fence. Place posts securely in the holes, ensuring they are level and plumb using a spirit level. Backfill the holes with concrete or gravel for added stability and allow adequate time for curing before proceeding with the next steps.
Erecting the Fence Panels
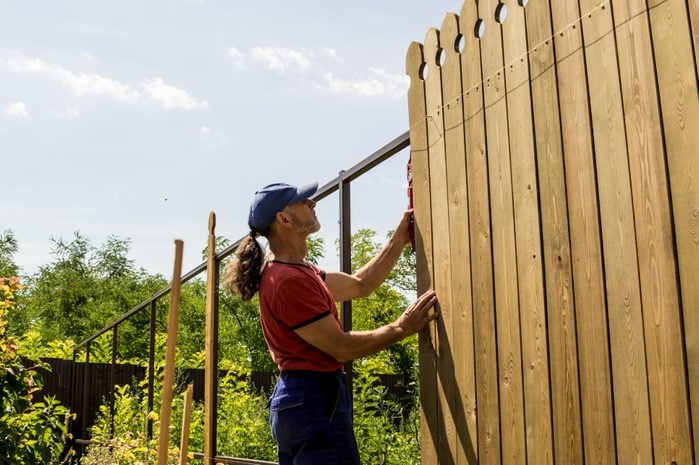
With the posts securely in place, it’s time to attach the fence panels. Carefully position each panel between the posts, ensuring uniform spacing and alignment. Use galvanized nails or screws to secure the panels to the posts, maintaining a consistent level throughout. For added strength and stability, consider reinforcing the panels with horizontal support rails.
Adding Finishing Touches
Once the fence panels are installed, it’s time to add the finishing touches to enhance both the appearance and functionality of your wood fence. Apply a protective sealant or stain to prolong the lifespan of the wood and enhance its natural beauty. Additionally, consider adding decorative elements such as post caps or lattice panels to personalize your fence and complement your outdoor aesthetic.
Maintenance and Care
Regular maintenance is essential to preserve the beauty and functionality of your wood fence over time. Inspect the fence periodically for signs of damage, such as rot, warping, or loose boards, and address any issues promptly to prevent further deterioration. Clean the fence regularly to remove dirt, debris, and mildew, and reapply sealant or stain as needed to protect the wood from the elements.
Conclusion
In conclusion, fencing installation is a rewarding endeavor that not only enhances the aesthetic appeal of your property but also provides practical benefits such as privacy, security, and delineation of boundaries. By following the steps outlined in this guide and choosing high-quality materials, you can build a wood fence that not only stands the test of time but also becomes a defining feature of your outdoor space. Whether you’re a seasoned DIY enthusiast or seeking professional assistance, a well-installed wood fence is sure to add value and charm to your home for years to come.


