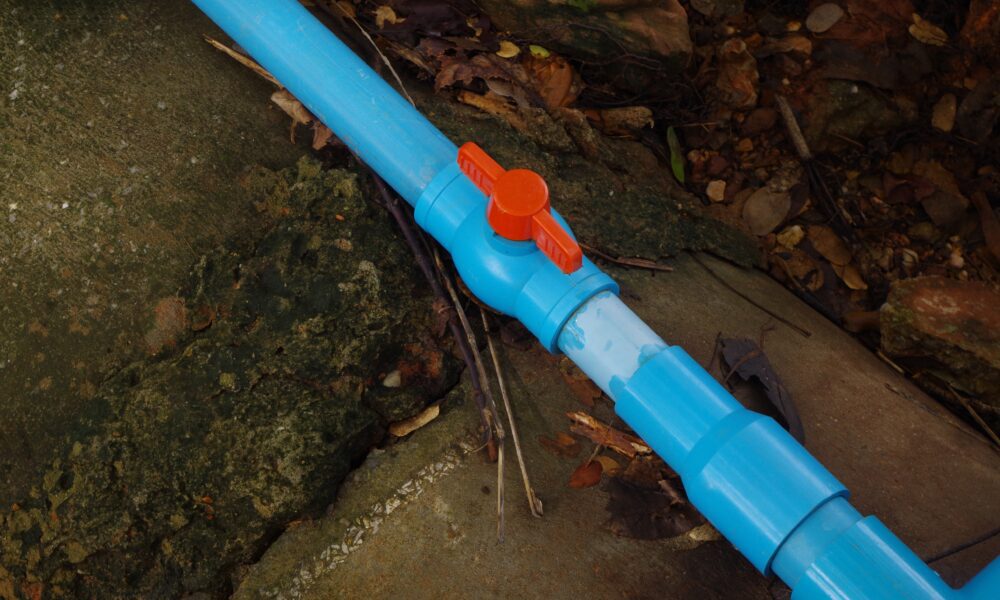
Installing stainless steel pipes in your home might seem daunting, but with the right tools and guidance, it’s a task that can be tackled by any DIY enthusiast. Whether you’re upgrading your plumbing system or setting up a new fixture, stainless steel pipes offer durability and a sleek finish that enhances your home’s infrastructure. In this guide, we’ll walk you through everything you need to know about installing stainless steel pipes, including the tools you’ll need, like the VEVOR pro press tool, to ensure a seamless installation.
Why Choose Stainless Steel Pipes?
Stainless steel pipes are the go-to choice for homeowners who value longevity and quality. They are resistant to corrosion, which makes them ideal for plumbing systems exposed to water and harsh environments. Unlike traditional piping materials, stainless steel pipes do not rust or degrade over time, ensuring that your installation will last for decades. Plus, they are eco-friendly and recyclable, making them a sustainable option for your home.
Tools You’ll Need for the Job
Essential Tools for Stainless Steel Pipe Installation
Before diving into the installation process, gather all the necessary tools to ensure a smooth and efficient setup. Here’s a list of must-have tools:
- VEVOR Pro Press Tool: This powerful tool is essential for securely connecting pipes without the need for soldering or welding. It’s perfect for creating leak-proof joints quickly.
- Pipe Cutter: A stainless steel pipe cutter ensures clean, straight cuts without deforming the pipe.
- Deburring Tool: To smooth out the edges of the pipe after cutting, preventing any damage to seals or fittings.
- Tape Measure: Accurate measurements are crucial to ensure your pipes fit perfectly.
- Marker or Chalk: For marking cut points on the pipes.
- Safety Gear: Gloves, goggles, and ear protection to keep you safe during the installation process.
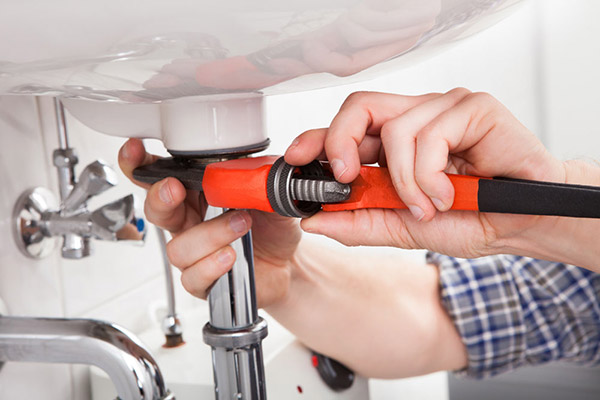
Optional Tools for Enhanced Efficiency
While not strictly necessary, these tools can make the installation process faster and more efficient:
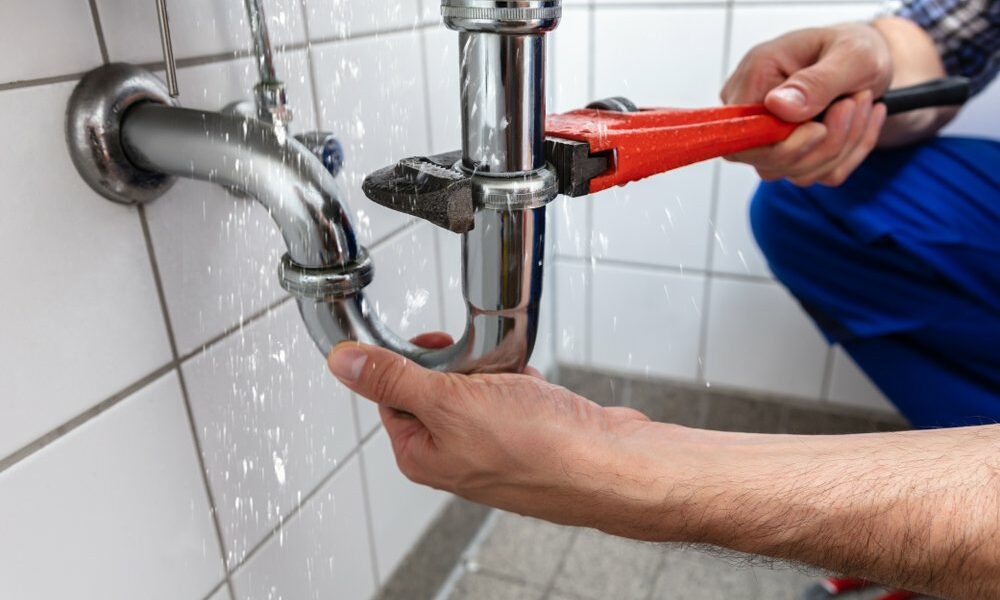
- Pipe Wrench: For tightening and adjusting fittings.
- Level: Ensures your pipes are installed at the correct angle.
- Pipe Bender: If you need to make custom bends in the pipe.
Step-by-Step Guide to Installing Stainless Steel Pipes
Step 1: Measure and Mark Your Pipes
Begin by measuring the length of stainless steel pipe you need for your project. Use a tape measure to ensure accuracy, and mark the cut point with a marker or chalk. Precision is key here, as incorrect measurements can lead to wasted material and time.
Step 2: Cutting the Pipe
Once marked, use a pipe cutter designed for stainless steel to make your cut. Ensure the cut is straight and clean to prevent any fitting issues later on. After cutting, use a deburring tool to smooth out the edges, which will help protect the integrity of your seals.
Step 3: Prepping the Pipe Ends
Before connecting the pipes, it’s essential to prepare the ends. Use the deburring tool to remove any sharp edges, and clean the ends to remove any debris or oil. This step ensures a tight seal and prevents leaks.
Step 4: Connecting the Pipes Using the VEVOR Pro Press Tool
Here’s where the VEVOR pro press tool comes into play. This tool simplifies the connection process, making it quick and efficient. Place the fitting onto the pipe end, then use the pro press tool to crimp the fitting onto the pipe. The tool creates a watertight seal without the need for soldering, which can be challenging for beginners.
Step 5: Checking the Alignment
After connecting the pipes, use a level to ensure they are properly aligned. Misaligned pipes can cause stress on the joints, leading to potential leaks down the road. Adjust as necessary to ensure everything is straight and properly positioned.
Step 6: Testing the System
Once all your pipes are installed, it’s time to test the system. Turn on the water supply and check for any leaks at the joints. If you notice any, you may need to re-crimp the fitting using the VEVOR pro press tool to ensure a proper seal.
Common Mistakes to Avoid
Inaccurate Measurements
One of the most common mistakes in stainless steel pipe installation is inaccurate measurements. Always double-check your measurements before cutting to avoid waste and frustration.
Skipping the Deburring Process
Neglecting to deburr the pipe ends can result in damage to the seals, leading to leaks. Always take the time to smooth the edges after cutting.
Over-tightening Fittings
While it’s important to secure fittings tightly, over-tightening can cause damage to the pipes or fittings. Use just enough pressure to create a secure connection.
Conclusion
Installing stainless steel pipes in your home can be a rewarding project when done correctly. With the right tools, like the VEVOR pro press tool, and a methodical approach, you can achieve a professional-grade installation that will stand the test of time. Remember to measure carefully, use the right tools, and test your system thoroughly before finishing the job. Happy plumbing!

